So, you’ve finally done it. You have successfully navigated the treacherous, yet deeply rewarding journey of the home grow. You have battled the spider mites, you have obsessed over nutrient burn, and you have checked your pH levels more often than you check your bank balance. You have harvested, trimmed until your fingers were stuck together, and waited patiently through the drying and curing process. The jars are lined up on the shelf, looking like trophies from a botanical war well fought. The hard part is over, right? Well, not quite.
There is a strange phenomenon in the South African cannabis community where we treat the growing process with the precision of a laboratory scientist, but treating the consumption ritual with the finesse of a bulldozer. We spend months cultivating these delicate, aromatic flowers, only to disrespect them in the final moments before enjoyment. It is a bit like spending three days slow-cooking a lamb shank, only to eat it with a plastic spoon while standing over the sink. Your harvest deserves better. You deserve better. And frankly, the plant itself demands a little more respect.
For the busy home grower, time is a currency as valuable as the terpenes locked inside those jars. You want to enjoy the fruits of your labour (literally) without turning every session into an hour-long ceremony, but you also don’t want to sacrifice quality for speed. The good news is that prep doesn’t have to be a chore. With a few adjustments to your workflow and a shift in mindset regarding how you process your material, you can elevate your experience significantly. Here are three quick preparation tips to help you respect the harvest and get the most out of your premium home-grown flower.
1. The Audit: Visual Inspection and Selection
The first tip happens before you even think about rolling or packing. It’s the audit. When you are busy, it is tempting to just reach into the jar, grab the first nug your fingers touch, and jam it into your preparation tool of choice. But pause for a second. That jar is a living ecosystem that has been evolving since you sealed the lid.
Curing is not a static process; it is dynamic. Even months down the line, moisture content can shift. Before you prep, select your specific flower with intention. You are looking for the ‘Goldilocks’ bud—not too dry that it turns to dust, and not so wet that it won’t burn evenly. Give the bud a gentle squeeze. It should have a slight bounce back, like a perfectly ripe peach. If it crumbles immediately, it might be too dry (time to check your humidity packs). If it stays squashed, it might need a few minutes of air before you process it.
This quick audit serves two purposes. Firstly, it ensures you are consuming the flower at its peak potential. Secondly, it is a final quality control check. In the rush of daily life, we sometimes miss things during the initial trim. A quick visual inspection under good light ensures there are no hidden seeds (which smell terrible when burnt) or any subtle signs of issues that may have developed in storage. Taking thirty seconds to select the right flower sets the tone for the entire session. It is a small ritual that separates the connoisseur from the consumer. In South Africa, where our humid summers and dry winters can play havoc with storage, this step is non-negotiable for the discerning home grower.
2. Stop Grinding, Start Milling: The Preservation of Potency
This brings us to the most critical, yet most overlooked, aspect of preparation: breaking down the flower. For decades, the standard approach has been to shove the bud into a generic grinder with sharp teeth and twist until the resistance stops. We need to talk about why this is a tragedy for your high-end home grow.
Your cannabis flower is covered in trichomes. These are the microscopic, mushroom-shaped crystals that house the cannabinoids (like THC and CBD) and the terpenes (the essential oils that give your strain its unique lemon, pine, or diesel aroma). When you use a traditional grinder with sharp teeth, you are essentially shearing and tearing the plant material. It is a violent process. The friction creates heat, which can degrade volatile terpenes, and the crushing action often smashes the trichomes, leaving a significant portion of your potency smeared against the walls of the grinder rather than in your rolling paper.
Think about it: you didn’t spend sixteen weeks nurturing these delicate structures just to smash them with a blunt instrument. You want to separate the plant material gently, allowing it to crumble along its natural structure. This creates a fluffy, airy consistency that burns evenly and allows for better airflow, which in turn delivers a smoother, more flavourful experience.
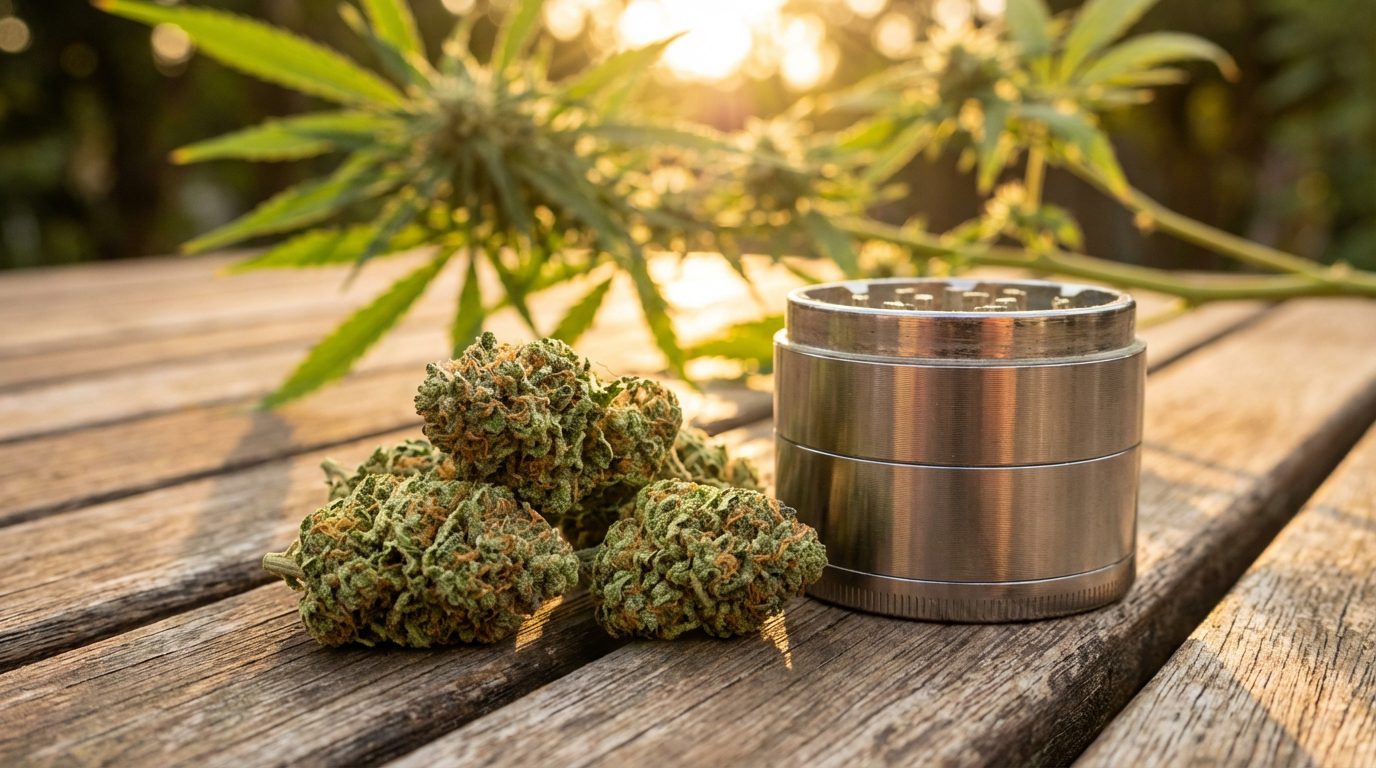
This is where the distinction between ‘grinding’ and ‘milling’ becomes paramount. Milling is a progressive method that gently crumbles the flower instead of shredding it. For the home grower who wants to honour the integrity of their crop, we highly recommend the Flower Mill, Next Gen Premium, 2.5 Stainless steel. Unlike conventional grinders that use teeth to rip the bud apart, this premium tool utilises a rotor to gently roll the flower across a screen. The plant material naturally breaks apart where it wants to, falling through the screen only when it is the perfect size.
Why does this matter for the busy grower? Efficiency and quality. The Flower Mill, Next Gen Premium, 2.5 Stainless steel processes flower incredibly fast, but without the violence of traditional teeth. The result is a beautifully fluffy consistency that preserves those precious trichomes on the plant material where they belong. It is made from food-grade stainless steel, meaning it’s built to last a lifetime and won’t flake aluminium into your smoke—a common issue with cheaper alternatives. Plus, the modular design makes it easy to clean, saving you time in the long run. When you use a mill, you’ll notice the difference immediately: the aroma is punchier because the terpenes haven’t been crushed out, and the burn is consistent. It is the essential tool for the final stage of the growing process.
3. The Mise en Place: Batch Prep for the Week
Our third tip borrows a concept from professional kitchens: mise en place, or ‘everything in its place’. As a busy individual, you might not have time to go through the full ritual of selecting and milling every single time you want to unwind. However, you also don’t want to pre-grind a massive amount of flower and let it sit there drying out for weeks, losing flavour and potency.
The solution is micro-batching. Choose a designated ‘prep day’—perhaps a Sunday evening—to prepare just enough material for the next 2-3 days. Using your Flower Mill, process enough flower to fill a small, airtight container (distinct from your long-term storage jars). This strikes the perfect balance between convenience and freshness.
By preparing a small batch in advance, you remove the friction from your daily routine. When you get home after a long day in traffic on the N1, you don’t have to fumble with jars and tools; you are ready to go. However, because you are only prepping for a few days, the product remains fresh. This method also helps with rationing. When you have a massive jar open in front of you, it is easy to overindulge. When you work from a smaller, pre-milled stash, you tend to be more mindful of your consumption.
To make this work effectively, invest in a small, UV-protected glass jar for your ‘active’ stash. Plastic containers can generate static electricity, which—you guessed it—pulls those trichomes off the plant matter and sticks them to the side of the tub. Glass is neutral and keeps the flavour pure. If you are rolling joints for the week, do them in this same session. There is something incredibly satisfying about opening your stash box to find three perfectly rolled, perfectly milled joints waiting for you. It’s a gift from ‘Past You’ to ‘Future You’.
The Philosophy of Preparation
Ultimately, these tips are about shifting your perspective. In the rush of modern life, we often view preparation as a hurdle to consumption. We want to get from Point A (sober) to Point B (relaxed) as quickly as possible. But for the home grower, the cannabis plant is not just a commodity; it is a craft. You have engaged with the plant on a biological level, understanding its needs and watching it grow.
When you rush the preparation, you disconnect from that craft. By taking a moment to inspect the bud, by using the correct tools like the Flower Mill to preserve its structure, and by organising your workflow, you are extending the joy of the grow into the joy of the use. You are respecting the harvest.
South African cannabis culture is evolving rapidly. We are moving away from the days of ‘bankies’ of unknown origin and towards a culture of appreciation, terroir, and quality. Home growers are at the forefront of this movement. You are the ones setting the standard. So, don’t let your standards slip at the final hurdle. Keep your glass clean, keep your humidity controlled, and for the love of good ganja, stop crushing your crystals.
Remember, the difference between a good smoke and a great smoke is often in the details. It’s in the snap of a properly cured stem, the fluffiness of a milled flower, and the clean burn of a well-rolled joint. These aren’t just snobbish preferences; they are the tangible results of good science and good practice. So next time you open that jar, take a breath. Smell the roses (or the Cheese, or the Durban Poison). Use the right tool for the job. Your plants worked hard to create those trichomes; the least you can do is treat them with a little dignity.
Keywords: Home Grow, Cannabis Preparation, Flower Mill, Terpenes, South African Cannabis