Let’s be honest: everyone remembers their first attempt at rolling a joint. It usually looks less like a sleek, smokable masterpiece and more like a crumpled, sad little receipt that went through the washing machine. If you are sitting there staring at a pile of beautiful green flower, feeling a bit overwhelmed, take a deep breath. You have officially entered the wonderfully welcoming world of weed culture, and we are thrilled to have you here. This Beginners Guide is designed specifically for you. There is absolutely no judgment here at Dixie Jane. Whether you are prepping for a laid-back Saturday braai or simply looking to unwind on your stoep after a long week, mastering the art of rolling is a rite of passage in the South Africa cannabis community. We are going to break down this seemingly mystical process into easy, manageable steps. Grab a cup of rooibos, clear off the coffee table, and let’s get into the nitty-gritty of Cannabis Education.
Before we dive into the physical act of rolling, let us talk about why rolling joints remains a cornerstone of weed culture, despite the rise of fancy vaporisers, pre-rolls, and edibles. There is a deeply meditative quality to rolling. It forces you to slow down, appreciate the aromas, and engage with the plant in a highly tactile way. In South Africa, where rolling a ‘zol’ has been part of our local tapestry for generations, sharing a joint is a communal experience, a gesture of hospitality, and a brilliant icebreaker. It is a way of connecting with friends old and new. But to confidently participate in this time-honoured tradition, it certainly helps to know how to construct one that actually burns evenly and does not fall apart halfway through the rotation. Do not worry; everyone starts exactly where you are right now.
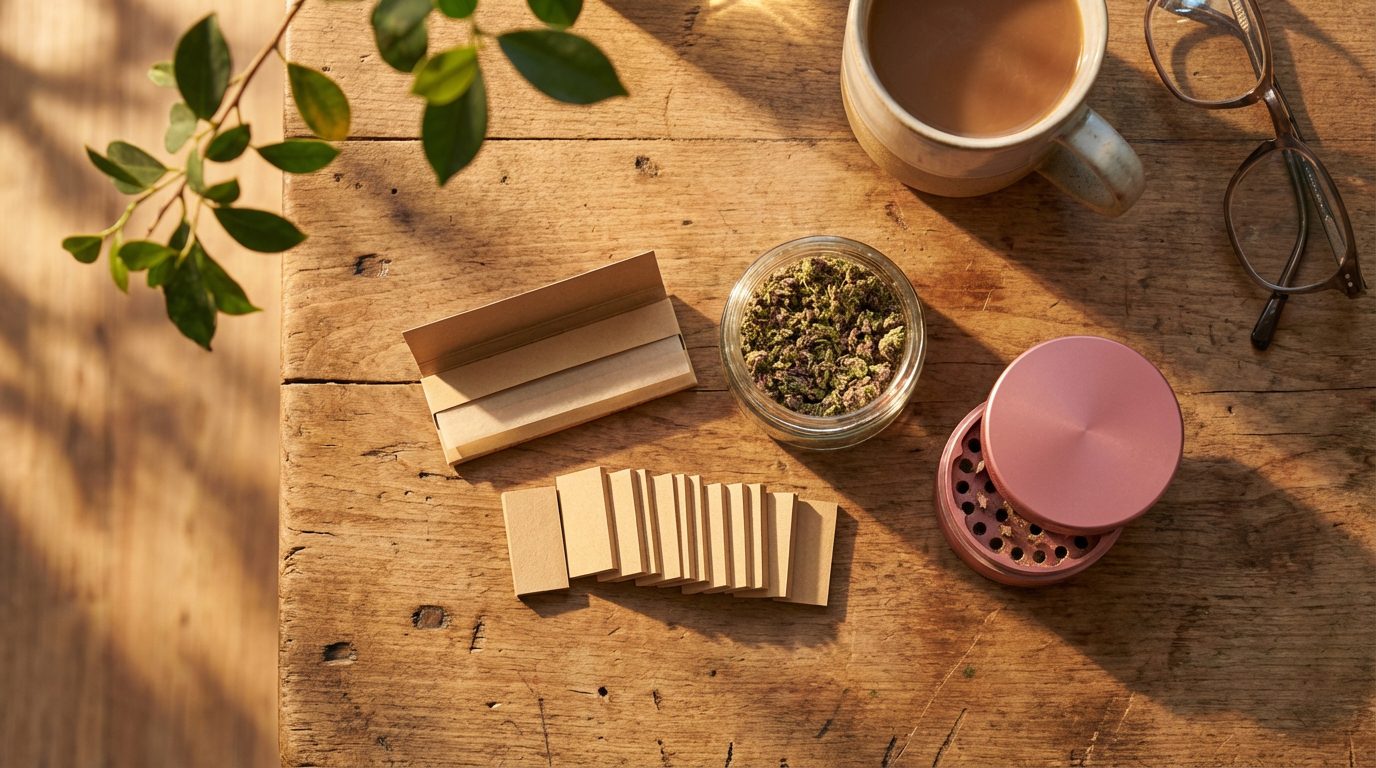
To build a solid house, you need the right materials and a proper foundation. The exact same logic applies to your cannabis endeavours. You will need your flower, a grinder (preferably a quality metal or acrylic one with sharp teeth), a rolling tray (or any flat, clean surface—a hardcover book or an old vinyl record sleeve works perfectly in a pinch), rolling papers, a filter tip (also known in the community as a crutch or roach), and a poker (a pen, a chopstick, or even a shoelace aglet). Getting your station organised is the absolute first step to success. Do not try to roll your first joint hovering nervously over a shaggy living room carpet; it is a guaranteed recipe for tears, frustration, and lost trichomes. Set up a comfortable, well-lit space where you can focus entirely on the task at hand.
Step 1: Prepare your flower. This is where your practical Cannabis Education truly begins. You want an even, consistent grind. Break off a few medium-sized nugs from your stash—avoiding the stems and any rogue seeds, naturally—and pop them into your grinder. Give it a few solid twists back and forth. What you are aiming for is a fluffy, coarse texture, somewhat similar to dried oregano. If you overdo it and grind the weed into a fine powder, your joint will be packed far too tightly, restricting the airflow and leaving you red-faced as you try to drag from it. Conversely, if the pieces are too chunky, the joint will burn unevenly, causing the dreaded “canoe” effect, which is when one side of the paper burns significantly faster than the other. A good, consistent grind is the bedrock of a great roll. Take your time to pick out any stray, sharp stems; they are the mortal enemy of delicate rolling papers and will quickly poke holes in your carefully crafted handiwork.
Step 2: Set up your paper and tip. Your choice of rolling paper makes a world of difference, especially when you are just starting out and trying to find your footing. Thick, cheap papers taste like burning notebook paper and ruin the flavour of your herb, while overly slick, glossy ones will pop right out of your nervous fingers. Do yourself a massive favour and start with the OCB Virgin Rolling papers with tips. These are an absolute lifesaver for the South African cannabis newcomer. They are entirely unbleached and ultra-thin, which means you get to taste your glorious flower and not harsh, chemically treated paper smoke. More importantly for beginners, the natural, slightly porous texture of the virgin paper provides a far better grip while you are learning the delicate, tactile art of the roll. Plus, they brilliantly include built-in tips right in the packaging, meaning you will not have to frantically tear up the lid of an old shoebox or a business card to make a crutch.
Let us talk a bit more about that crutch for a second. Some old-school smokers might skip the filter tip altogether, preferring a more rustic approach, but in this Beginners Guide, we highly recommend always using one. A tip gives the joint crucial structural integrity, acting as a sturdy handle. It completely prevents you from burning your lips or fingers when the joint gets down to the very end (the “roach”), and it acts as an essential barrier so you do not end up inhaling tiny, burning bits of hot weed directly into your throat. To make the tip, take the cardboard filter, make three or four tiny accordion-style folds at one end (creating an ‘M’ or ‘W’ shape), and then roll the rest of the remaining cardboard firmly and tightly around those folds. Pop this little cylinder into one end of your uncreased rolling paper.
Step 3: Load the paper. Hold the paper carefully so the shiny strip of adhesive glue is facing up and pointed toward you. Place your beautifully rolled crutch at one end of the crease. Place it at whichever end feels most natural and comfortable to your hands; there is no universally right or wrong side, whether you are left-handed or right-handed. Now, carefully and deliberately sprinkle your ground flower into the crease of the paper. This is a moment where patience is undeniably a virtue. You want to distribute the cannabis relatively evenly, but with a slight taper to create an aesthetically pleasing shape. Put a little less flower near the crutch and gradually add more towards the opposite open end to create that classic, elegant cone shape. Whatever you do, do not overfill it! Greed is the ultimate enemy of the beginner roller. It is remarkably easier to roll a slightly slimmer, perfectly formed joint than to wrestle endlessly with an overstuffed log that stubbornly refuses to close.
Step 4: The pinch and roll. Alright, take a deep breath. This is the moment of truth, the climax of the process, and it is perfectly normal if it takes a few tries to get the feel for it. Pick up the loaded paper carefully with both hands. Gently pinch the paper between your thumbs and index fingers, starting near the crutch. Softly roll the paper back and forth, up and down, compressing the loose flower inside into a cohesive, solid cylindrical shape. You are not trying to seal it just yet; you are simply massaging and shaping the weed into form. If a little bit of cannabis falls out of the open end onto your rolling tray, do not panic or feel defeated. That is exactly why we use a rolling tray in the first place. Keep rolling it back and forth until the flower feels relatively firm and holds its shape neatly inside the cradle of the paper.
Now comes the legendary “tuck.” This specific manoeuvre is what separates the seasoned, veteran rollers from the absolute beginners, but with our clear guidance, you will master it in practically no time at all. Once your flower is nicely shaped into a cylinder, roll the paper downwards so the non-glued edge is resting just above the compressed weed. Starting firmly at the crutch end—because the crutch inherently provides a solid, unbreakable cylinder to work your fingers around—use your thumbs to push that non-glued edge down and gently tuck it securely behind the flower and the crutch. This is exactly where those unbleached OCB Virgin papers really shine, providing the necessary tactile friction to grab the edge without slipping and seamlessly roll it over. Work your way methodically up the length of the joint, tucking the paper tightly and snugly over the cannabis. It is a smooth, continuous motion of rolling your thumbs upward while gently pulling your index fingers downward.
Step 5: Lick and seal. Once you have successfully tucked the bottom edge under the flower, continue rolling the joint steadily upwards until only the shiny, reflective strip of adhesive glue remains exposed. Now, give that glue line a gentle lick. You absolutely do not need to saturate it—think of it like sealing a posh, expensive wedding invitation, not trying to wash a car. Just a quick, even moistening with your tongue from the crutch all the way to the tip will do perfectly. Carefully roll the moistened edge completely over and press it firmly down against the paper to seal the joint. Run your fingers lightly along the seam from bottom to top to ensure it is secure and flat. Congratulations are officially in order! The hardest part is officially over. You have successfully constructed a functional joint. But hold your horses, because we are not quite finished just yet.
Step 6: Pack and twist. Remember those stray bits of flower that spilled out earlier onto your tray? And that extra bit of empty space left at the top of your joint? Take your trusty poker—a pen, a small stick, or a specialised metal packing tool—and gently tamp down the cannabis from the open end. You want the flower to be compact enough so that it burns slowly and evenly, but definitely not so tight that you cannot draw air smoothly through it. Finding this balance takes a bit of practice. Once you have packed it down to your liking and the density feels right, simply pinch the extra paper at the tip and twist it into a neat little wick. This little twist keeps the flower secured inside if you are transporting your joint in a pocket or bag, and it also makes for a very satisfying, easy lighting experience.
If you are looking at your finished product right now and it is a little lopsided, slightly pregnant in the middle, or looking somewhat bent, please give yourself some grace. Cannabis Education is an ongoing, lifelong journey. Even the most seasoned, grey-haired members of the weed culture in South Africa occasionally roll a complete dud. If it feels far too loose, try again. If it is completely unsmokable and falling apart, there is absolutely no shame in gently ripping the paper open, emptying the precious flower back onto your tray, and starting the whole process from scratch. Rolling is fundamentally a tactile skill; your fingers literally need to learn the intricate muscle memory, and the only possible way they will learn is through patience and repetition.
Now that you have your beautifully hand-crafted joint, it is finally time to enjoy the well-earned fruits of your labour. Lighting a joint is not quite the exact same procedure as lighting a standard cigarette. Hold the joint comfortably in front of you—do not put it in your mouth just yet. Apply your lighter’s flame directly to the twisted tip and slowly, evenly rotate the joint between your fingers. You want to properly establish an even “cherry” (which is the glowing red ember at the very tip) before you start puffing away. Taking the time to roast the tip ensures an even burn from the first drag. Once it is evenly lit and glowing nicely, bring it to your lips and take a gentle, slow draw. Inhale the wonderful flavour, exhale the stresses of your week, and pat yourself on the back for a job well done.
As you step confidently into this wider world, it is well worth noting a few of the unwritten rules of joint etiquette. “Puff, puff, pass” is the universally accepted golden rule when you are sharing with friends—take two polite drags and calmly hand it to the left. Never pass a joint that has an uneven burn without at least trying to fix it first, and always be highly mindful of where your smoke is blowing so you aren’t puffing directly into someone’s face. Most importantly, always keep the vibe positive, inclusive, and relaxed. Cannabis is meant to be a great connector, a wonderful way to break down social barriers, laugh freely, and truly enjoy the present moment with good company.
Rolling your first joint is a genuine milestone worth celebrating. It is a fantastic, practical skill that perfectly marries preparation, patience, and a little bit of finger dexterity. By carefully following this Beginners Guide, using high-quality materials, and approaching the task with a wonderfully relaxed, judgment-free mindset, you are well on your way to becoming the designated master roller in your friend group. We sincerely hope this comprehensive, step-by-step breakdown has taken the overwhelming mystery out of the process and fully empowered you to embrace this beautiful, communal aspect of South Africa Cannabis culture. Keep practising, keep enjoying the journey, and welcome with open arms to the community. You have absolutely got this.
Keywords: Beginners Guide, Cannabis Education, Rolling Joints, Weed Culture, South Africa Cannabis